
Setting Up a Carpet Drying Room: Seven Checks for the First Batch
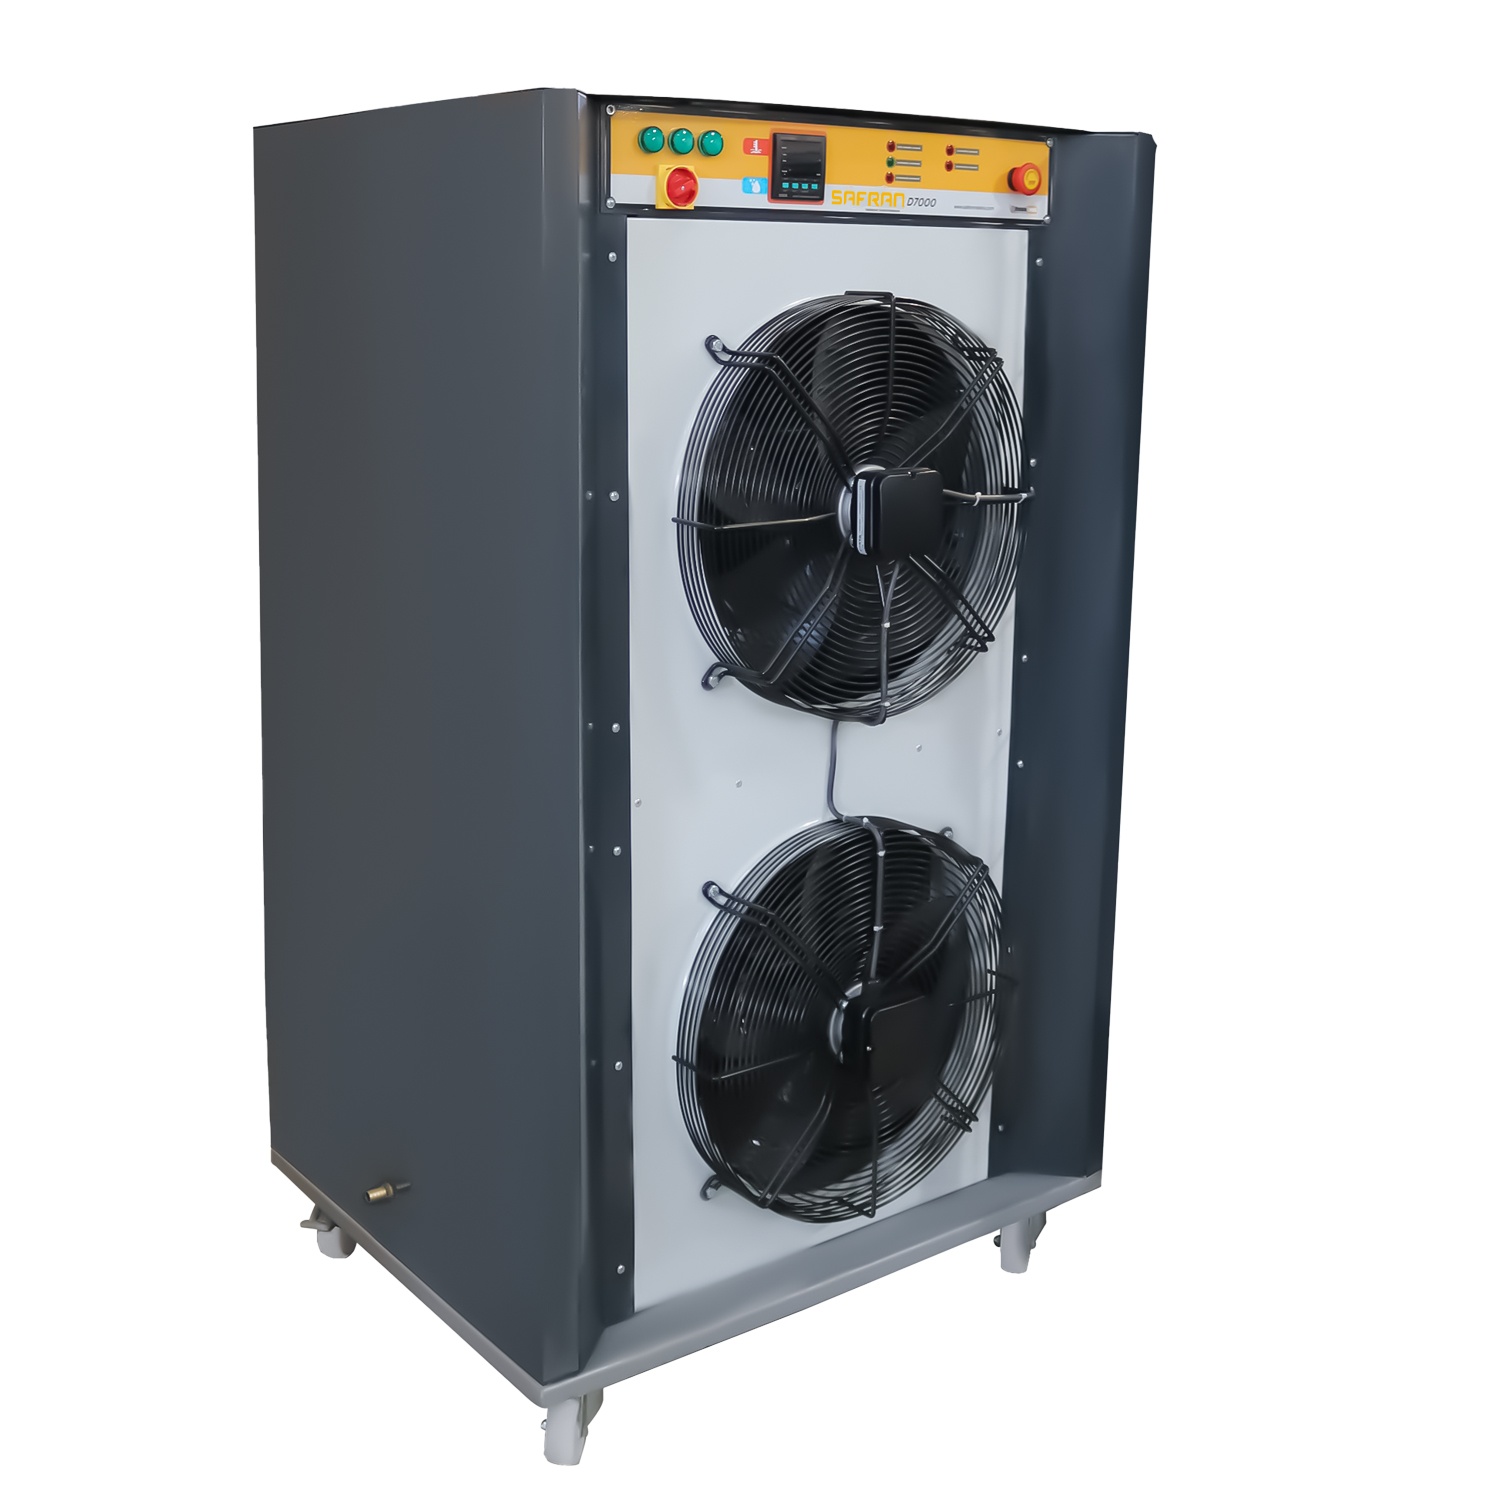
Setting up a carpet drying room involves more than placing a dehumidifier in the room and switching it on. Doors, hanging arrangements, air circulation and drainage must be checked together. Records from the first trial batch reveal problems before the busy season.
This article is a first-use checklist for a new or rearranged room. For equipment selection and quotation scope, see the carpet dryer prices and dehumidification guide. Do not determine an exact number of units or drying time without evaluating room dimensions and the actual batch load.
1. Check the room layout while it is empty
Record width, length and ceiling height. Mark doors, hanging rails, dehumidifiers, fans and the drain line on a simple sketch. Take intake, outlet and service clearances from the manufacturer’s installation instructions.
Discuss uncontrolled openings in doors and the building with the technical team. A continuous inflow of humid outside air can alter the drying load. However, do not arbitrarily close ventilation openings or safety provisions specified in the design. Keep staff access and carpet transport routes clear in the layout.
2. Test hanging positions with real carpets
Spacing between empty rails does not by itself reveal airflow in a loaded room. Hang carpets of different thicknesses and sizes and check whether they touch one another, walls or the unit’s air intake. Folding and overlapping can make some areas dry more slowly.
Have the authorized installation team verify the hanging system’s load limit and fixings. Instead of filling the whole room initially, start with a controlled batch whose results can be monitored. Numbering hanging positions in the record makes recurring slow-drying locations easier to find.
3. Assess airflow under load
A running fan does not mean adequate air circulates everywhere. After hanging carpets, check for blocked airflow and differences in corners and rear rows. Keep fan and dehumidifier positions consistent with the installation plan.
If one area repeatedly lags behind, first assess hanging density and the air path. Adding another unit is not always the first solution. Fans move air; moisture removal depends on the dehumidification or ventilation arrangement.
4. Verify drainage and electrical connections before commissioning
Check where collected water goes. The drain line must not kink, backflow, leak or overflow. Test the drainage conditions in the operating instructions with the installation team. Resolve any water accumulation before continuing the trial.
A qualified electrician must check the electrical supply, protection and connection suitability. The operator’s role is not to work inside the electrical panel; in case of a fault, unusual noise, smell or leak, follow the unit’s shutdown procedure and notify technical service.
5. Record the first batch’s water load
Two batches of equal area can carry different quantities of water. Carpet texture, thickness and spinning results create this difference. Record carpet types and the spinning process alongside quantity and total area in the first trial. Consistent spinning makes drying results easier to compare.
With a suitable scale and standardized method, compare a sample carpet’s dry weight with its weight after spinning. The difference helps estimate residual water; do not assume one sample represents the entire batch. Compare similar carpet groups in trials.
6. Do not interpret temperature and humidity from one reading
Record starting temperature, relative humidity, time and measurement location. Make subsequent checks at the same points and similar intervals. A sensor directly in a unit’s outlet may not represent room conditions; agree measurement locations with the technical team.
Falling room humidity alone does not prove every carpet backing and thick section is dry. At the end, assess carpets at different hanging positions, especially edges and thick areas, using the business’s quality-control method appropriate to each carpet type. Do not decide to pack solely from elapsed time.
7. Record the result and change one variable in the next batch
If the first result falls short, review hanging density, spinning and airflow together. Changing every setting at once makes it hard to know which action worked. Within operating limits and following technical advice, adjust one variable and remeasure a comparable batch.
| Record category | Information to record | Purpose |
|---|---|---|
| Batch and load | Date, carpet quantity, total m², type and spinning process | Compare similar loads |
| Layout | Hanging positions, fan layout and unit settings | Find slow-drying areas |
| Measurements | Time, location, temperature and relative humidity | Track the process |
| Operating conditions | Door opening, stoppages and drainage problems | Separate events affecting the result |
| Batch result | Areas checked, residual moisture and finish time | Assess suitability for packing |
| Energy | Batch consumption measured with a suitable meter | Compare kWh consumption of similar batches |
Frequently asked questions
Should I fill the whole room for the first batch?
A controlled start makes layout and measurement methods easier to verify. Plan load increases within rail and equipment limits using the first trial’s results.
Will one unit be enough for the room?
Floor area alone cannot answer this. Assess water load, volume, ambient conditions, circulation and the intended operating schedule together.
Can I use the first batch’s duration as the customer delivery time?
One trial does not represent every season or carpet type. Base delivery planning on results from varied, recorded batches.
Choose a drying system for your room plan
Explore carpet dryers and dehumidifiers, including the PAK 530 D as an example. Request a drying-system quotation with your room sketch and batch details. If also renewing the washing line, the belt-width selection guide complements your layout plan.
Continue reading
Automatic vs Manual Carpet Washing Machines
Compare automatic and manual carpet washing machines by capacity, control, labour, budget and support to choose a suitable system for your business.
Read article
Car Wash Sets and Car Care Kits: Equipment and Price Factors
Explore car wash sets, pressure washers, automotive vacuums, polishers and care products. Check package contents and compare like-for-like prices.
Read articleCar Wash Supplies: Machines, Tools and Care Products
Explore car wash supplies, upholstery extractors, industrial vacuums, pressure washers and care products, with selection and application guidance.
Read article